Create a Virtual Machine with Linux
This short guide will show how to create a VM with Linux using Azure
Login into Azure
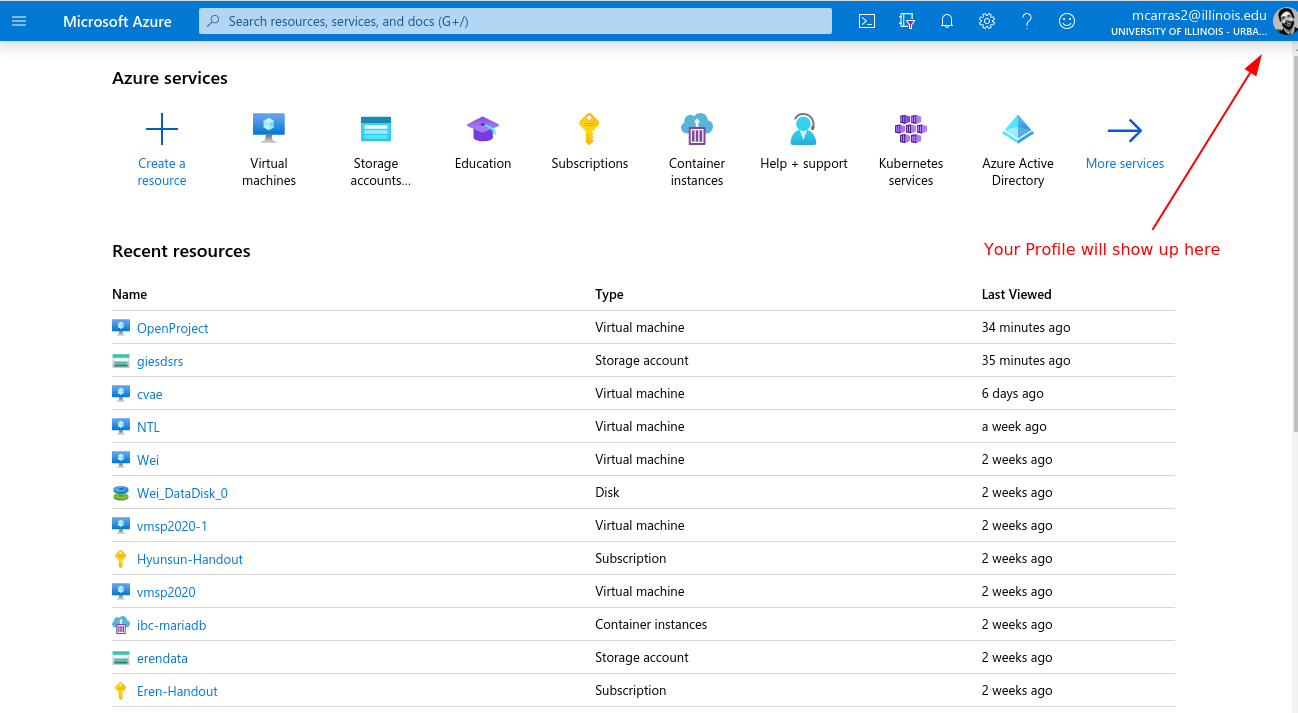
Go to https://portal.azure.com/ and using your UIUC credentials log into the portal.
You should see something like this:
Create VM
Then click Virtual Machines or type it in the search bar.
Click the Add Button

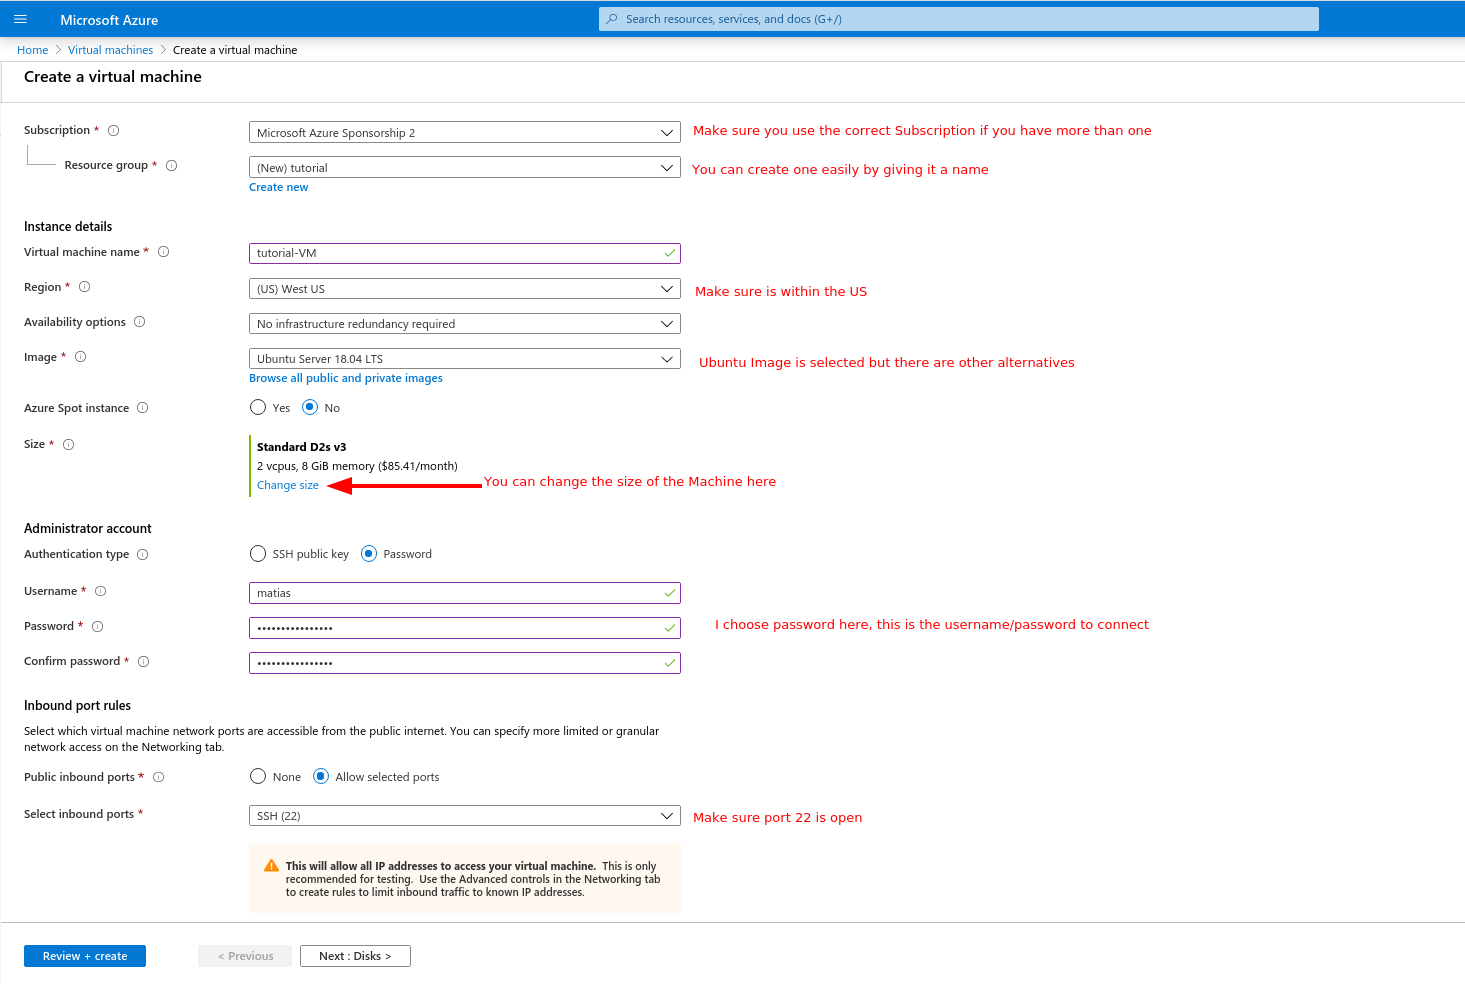
Fill in the form:
- Make sure your Subscription is the right one.
- If you don’t have a Resource group just create a new one
- Given the VM a name, e.g. tutorial-VM
- Select your Region (make sure is within the US)
- Leave the No infrastructure redundancy required
- Image
- This is the base Operating System for your VM
- You can select Windows, Linux or some third party images (More on this later)
- Select the Ubuntu image
- No Azure Spot Instance
- Size
- Here you can Change size and select a larger machine with more cores and/or memory, including GPU in certain cases
- Authentication
- You can use a SSH key pair or a password, I choose password for simplicity here
- You want the SSH port 22 selected so you can access via ssh
- Click Next:Disks
Disks
By default the VMs have small disks (50GB), you can add more disk or volumes by clicking on Create and attach a new disk
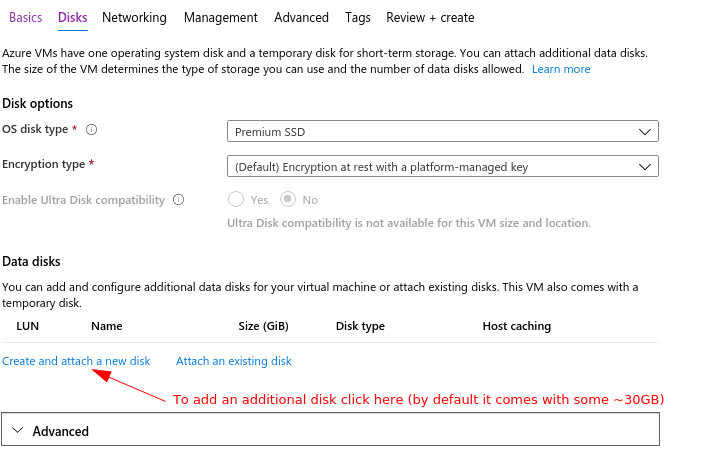
In our case we will add 256 GB of SSD disk, after clicking on Create and attach a new disk we fill the form for a new disk
- Empty
- Size 256 SSD (SSD is faster and better performance than standard HHD )
- Default Encryption
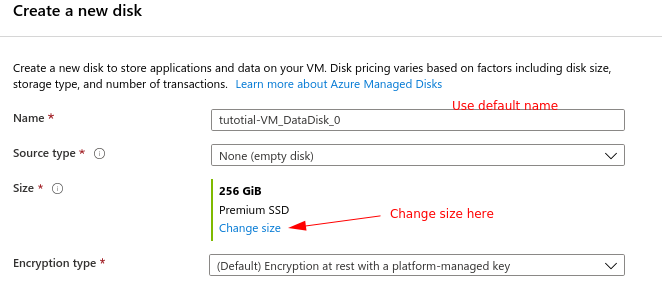
Click OK and move to Next:Networking
Networking
- Usually no need to add any modifications here unless some advanced features are needed, you can safely go to the next section.
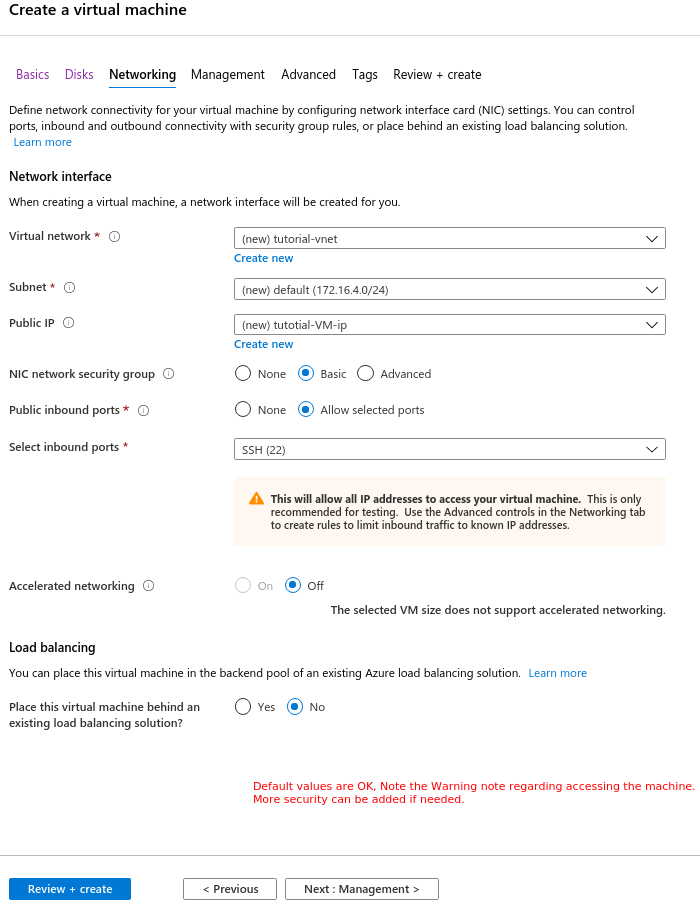
Click Next:Management
Management
Default values are ok too, You can change here if you want to enable back up, or auto-shutdown (in case you are monitoring the costs, etc).
You can also change the way to authenticate if different from username/password. Mostly to increase security
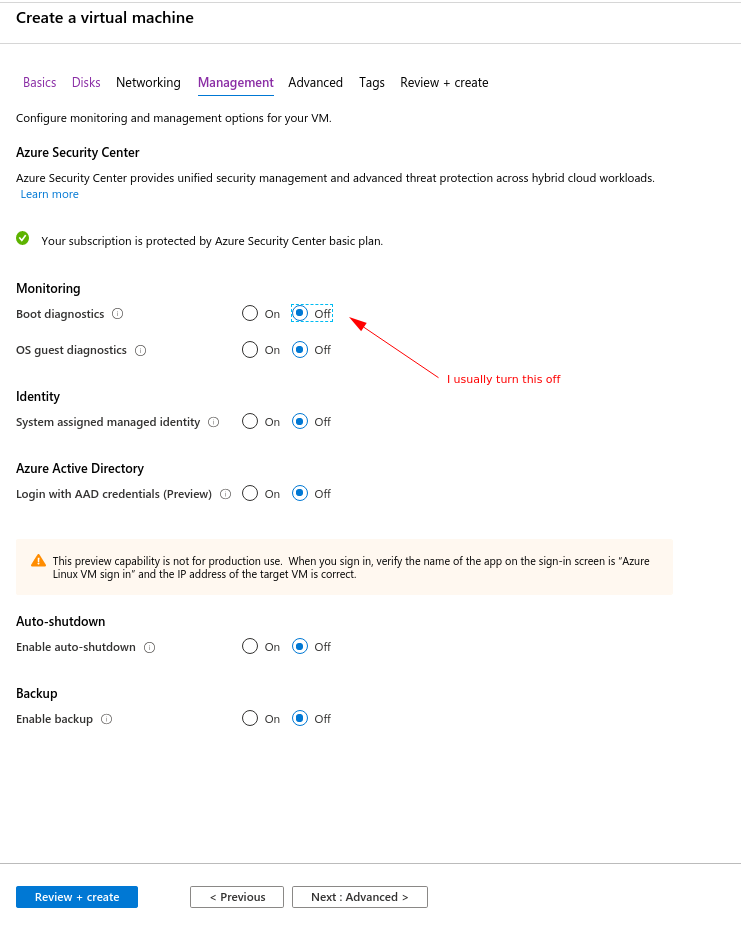
Click Next: Advanced
Usually there is no need to use any of these, unless for example you want to run some scripts when the machine is created to install some packages, for that you would use cloud_init
Click Next:Tags
Here you can add tags so easily sopt your resource among others, to separate the entries in billing etc. Is optional.
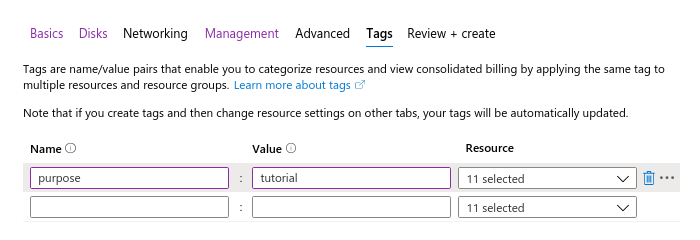
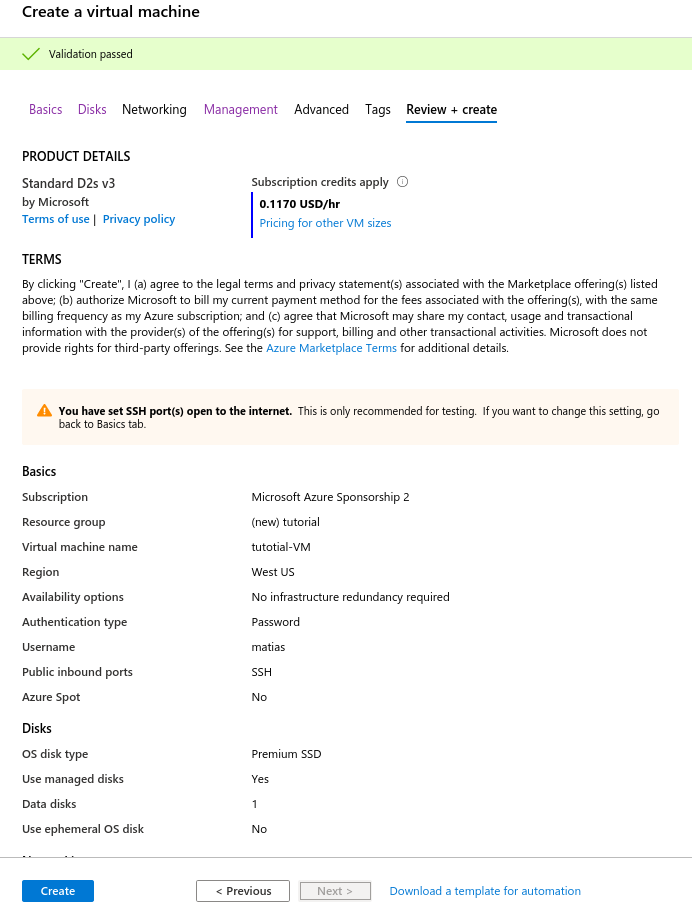
Click Next: Review + create
If everything is Ok, you should green light to create the VM, you’ll give a budget quote and a summary of the VM.
Take a last review and click Create
Access to the VM
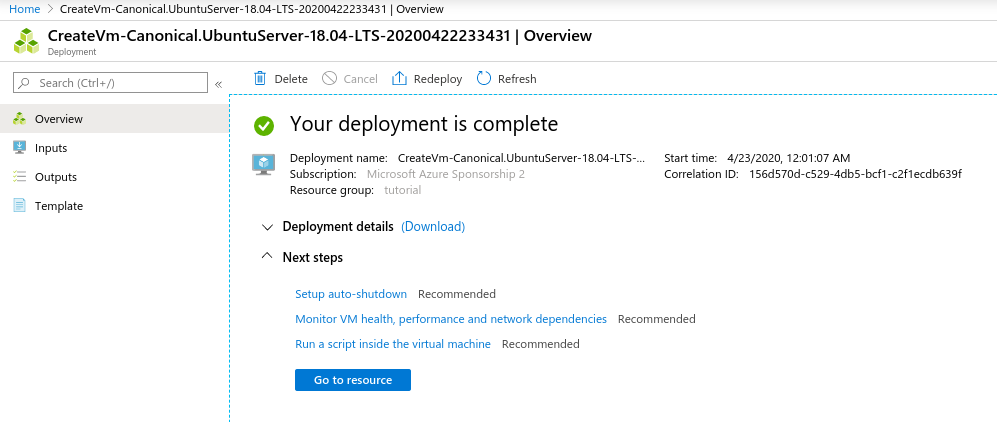
After a few minutes you can access your VM using SSH, You can monitor your VM from the Azure portal
You will see a screen like this:
You can also search for your machine under the Virtual Machines section on your Portal Home (See First Figure)
When looking at the resource from Azure, you should see something like:
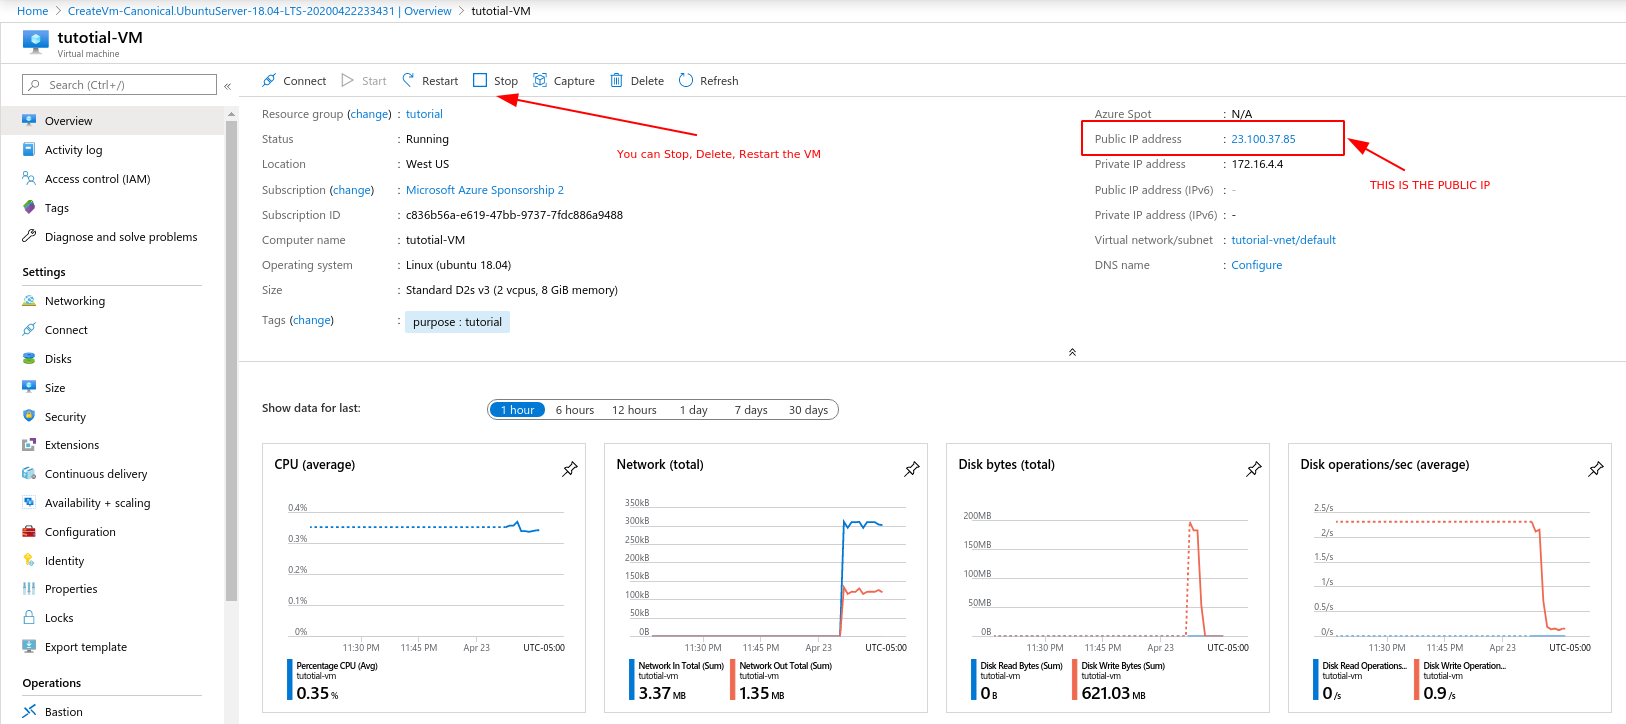
Take note of the ip address to be used to SSH into the machine.
Go to a Terminal and connect to the Machine via SSH.
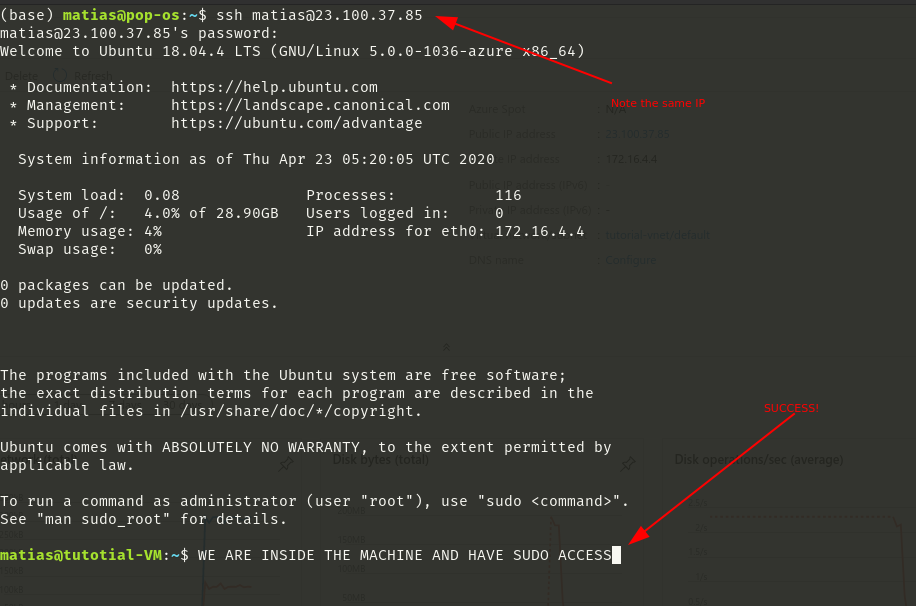
Once inside you have full access to the machine, you have sudo privileges and can install any software.
Warning: We need to make sure the additional disk gets mounted so we can use it
Mount created disk
If you type df -h inside the machine, you’ll see something like:

Let’s find the disk we want with dmesg | grep SCSI

Usually is sdc , we can see from above that sda and sdb are taken
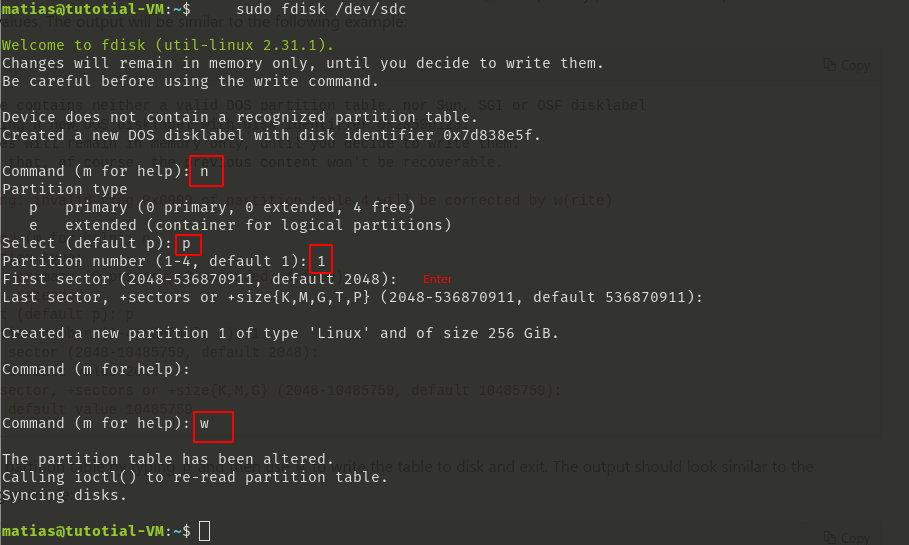
We need to format and partition the disk, for that you can run:
sudo fdisk /dev/sdc
You’ll get prompt, type in n to create a partition, p to make it primary 1 for the partition number and default the rest. w to create partition and exit
Run the following commands to update the kernel and create a file system
    partprobe
    sudo mkfs -t ext4 /dev/sdc1
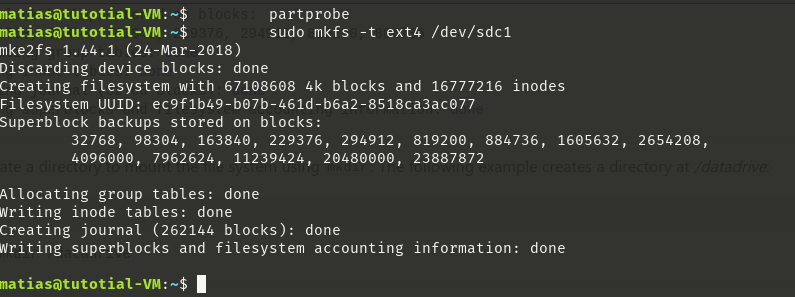
Your disk is ready to be mounted. Create a folder:
sudo mkdir /external
then mount the disk to it:
sudo mount /dev/sdc1 /external
give the right permissions to write (use your username name):
sudo chown -R matias:matias /external
and you are ready. You have a SSD disk at /external to use. If you type df -h again:
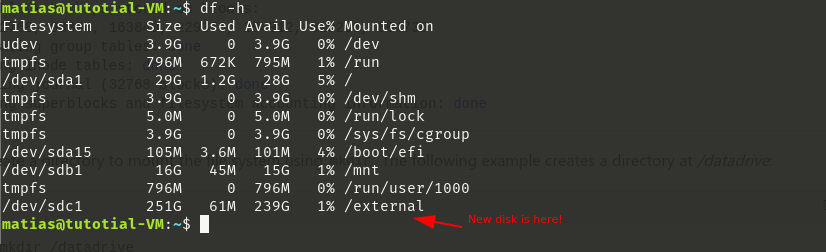
Warning: If you restart your machine, you only need to repeat the last 2 steps, mount and chown